OTA DVRs let you record free broadcast TV from an antenna, pause and rewind live shows, and build a personal library without monthly cable fees. Sometimes, all the buzz around cable packages and subscriptions makes it seem like TV has to come with a hefty bill, but OTA or Over-the-Air TV is the way to roll without breaking the bank. With free local channels broadcasting right into your living room, it’s all about getting back to the basics. Plus, it turns out you don’t have to ditch recording or pausing live TV just because you’ve cut the cord.
In the last three years, the number of over the air channels has grown. There have been many over the air frequencies that are Low Power Television Service stations, that are generally many sub channels. These stations were designed to serve rural areas, niche audiences, and underserved urban pockets—often with hyperlocal news, religious content, or ethnic programming. And has opened the door to networks like Defy TV, Nosey, and Law & Crime to lease subchannel space. Three years ago, I would pick up 27 channels, over the air, now I get 57 channels. A big reason to have over the air DVR.
DVRs or Digital Video Recorders are the unsung heroes here. They let you capture those shows you can’t miss, pause when life gets in the way, rewind when you want to catch that epic scene again, and keep up with your favorite series at your own pace. So, if you’re wondering about flexibility and convenience, a DVR brings it home.
Picture this: simple viewing pleasure minus the cable bill. You’ll be able to catch popular network shows, local sports events, and community programs with nothing more than a good antenna and a savvy DVR setup. It’s like enjoying the best of both worlds—solid entertainment and cost savings.
Think of DVRs as giving you control over TV in a way that not even streaming can match. Say you’re into that cliffhanger-filled drama but got a busy schedule, you can bank all those episodes for a lazy weekend catch-up. Or just record your live events because missing out just isn’t an option. Either way, it’s all within reach with OTA DVRs.
Whether you’re a die-hard sports fanatic, a drama series lover, or just someone scrapping the bills, OTA TV with DVR could be your ticket. It’s about flexibility, taking TV at your pace, and doing it in a way that suits your lifestyle without the extra costs.
Set Up for Success: What You Need to Record OTA TV
You don’t need a tech degree to start capturing Over-the-Air TV; just a few basics and you’re on your way. First up, you’ll want a TV antenna. Picking the right one is all about where you live. In a bustling city? An indoor antenna might do the trick. Out in the sticks? An outdoor option could bring better reception.
Then comes the main player: the OTA DVR. Think of it as your TV’s memory bank, helping you store all those shows and sports events. You’ve got options here, from standalone DVRs with built-in hard drives to cloud DVRs that store recordings online—a neat choice if you like keeping everything digital.
Some DVRs really step up the game with multiple tuners. That means you can grab several shows at once without a hitch. Perfect for those nights when all your favorite series clash. Look out for internet-connected models too, complete with companion apps, giving you remote access to recordings right from your smartphone.
For those who want extra storage, a portable external hard drive can expand your DVR’s capacity. No more worrying about running out of space for your movie marathons or sports replays. Plus, it brings that peace of mind knowing your recordings are backed up.
So, start with a TV antenna to receive those signals, pair it with a DVR for flexibility, and remember, it’s not about having the fanciest gear—it’s about choice. Choose the options that match your viewing style and budget.
Navigating Options: Popular OTA DVR Choices
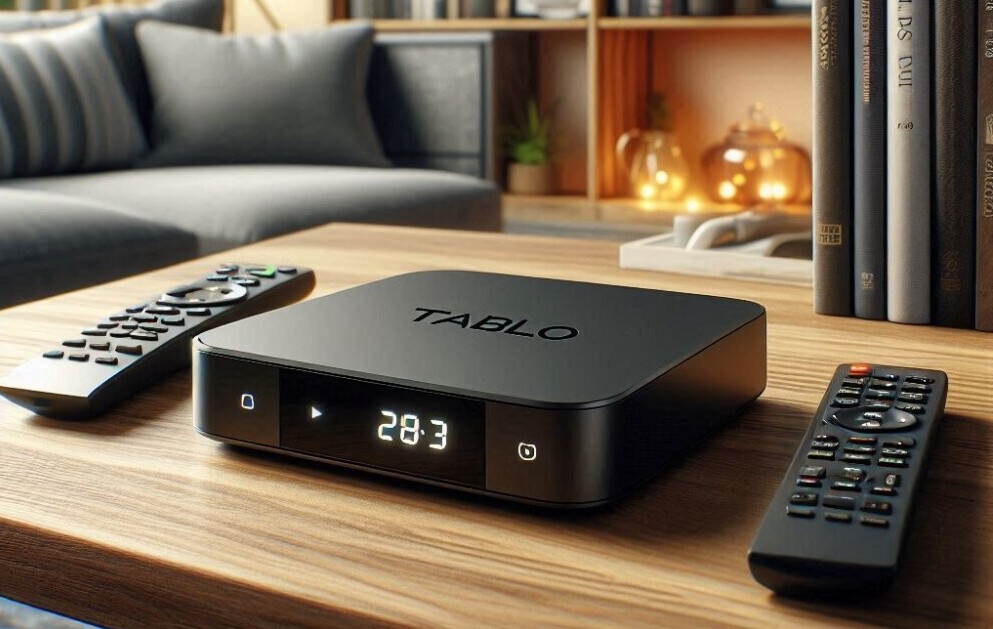
Shopping for the perfect OTA DVR? You’ve got some cool options to explore, each with its own nifty features. Let’s kick off with the Tablo 4th Generation. It’s got that sleek option of 2-Tuner or 4-Tuner—which means you can record two or four shows at the same time, depending on your choice. The best part? You can add a USB hard drive to boost storage space up to a whopping 8 TB. Big fan of binge-watching? Well, Tablo’s got you covered!
Unfortunately, all TiVo hardware was discontinued on October 1, 2025. Since then, the company has shifted away from DVR hardware entirely and now focuses on software (such as the TiVo OS for smart TVs), continuing support for existing devices but no longer producing new DVR units. There are retailers and dot coms where you can still purchase TiVo equipment but once they are gone, that is it!
Don’t forget the Amazon Fire TV Recast. It’s super cool because it syncs with Alexa and even Google Voice. Imagine using voice controls to find shows or manage your recordings. With two tuners, it records two shows simultaneously, letting you juggle between your favorites with ease. Plus, with 75 hours of recording capacity, you can stack up on all that irresistible content.
Exploring these options means you get to decide what fits your lifestyle. Whether it’s about loading up on storage, using voice commands, or managing multiple recordings thanks to additional tuners, choose a DVR that keeps up with your pace. Each option empowers you with a different set of features—so think about what matters most to you when making that choice.
Optimize Your Experience: Costs and Setup Steps of OTA DVRs
Ready to jump into the world of OTA DVRs? The good news is, it doesn’t have to cost an arm and a leg. Prices can start under $50, with advanced models setting you back a bit more, sometimes over $200. But hey, the investment can save you bundles in cable fees down the line.
Keep an eye out for extra expenses. Some DVRs come with optional software subscriptions or cloud storage fees. Those add-ons can boost your experience, offering more flexibility and enhanced features, but they’re not always must-haves.
Setting up your OTA DVR is simpler than you might think. Start by connecting your antenna to the DVR with a reliable coaxial cable. If you’re using an external hard drive, plug it in to expand your storage. Connecting to your home router, either via Ethernet or Wi-Fi, unlocks internet features on some models—perfect for tapping into extra apps.
You’ll then need to connect your DVR to your TV. This can be done with an HDMI or RCA cable, depending on what ports your TV supports. Don’t forget the basics like plugging in the power and setting up the remote control. The on-screen setup guides are your best friends during this process.
Once you’re rolling, recording becomes a breeze. Most DVRs feature a REC button for snagging those live shows. Many also cover the whole program even if you were a little late, so you won’t miss a beat. Storage limits vary but managing them can be as simple as deleting older shows manually or activating automatic deletion options—making space for new content effortless!
Personally, I went with the 4 tuner Tablo with an 8 GB hard drive. I know a little bit of overkill there, but someday I may need 1200 hours of record time!
Final Thoughts
OTA DVRs are the simplest way to add true time‑shifting and multi‑room playback to free over‑the‑air TV—choose a model with enough tuners for your household, expand storage with an external drive if needed, and factor in whether you want local apps, cloud guides, or a subscription service for advanced features.
- 👉 Tell me your viewing habits (how many simultaneous recordings you need and whether you want remote access) and I’ll recommend the best DVR model and storage setup for your budget.
- 👉 Ready to shop and set up? Start with a two‑tuner DVR and an RG‑6 coax run from your antenna to the unit, add a USB or SATA drive for storage, scan channels, then test recordings on multiple shows before committing to a larger system.
Thanks for reading,
Mark
mark@bethmark.com

Hi Mark,
I had never heard of Over The Air DVR Recorders before.
I’m not the biggest watcher of TV but I do have family members who are huge watchers of TV and I know they would see huge benefits in having a DVR Recorder.
I am going to share your article with them and encourage them to get in touch or leave a comment if they have any questions for you, if that is OK?
Thank you for sharing and keep up the great work on your site.
All the best,
Tom
Hello, Tom
Thank you so much for your kind words! I really appreciate you taking the time to read and share the article. Even if you’re not a big TV watcher yourself, it’s great that you immediately thought of how this could benefit your family—an Over-the-Air DVR really can make a big difference in how people enjoy their favorite shows.
Please do share it with them, and I’d be more than happy to answer any questions they might have. That’s exactly what the comment section is for, so they’re always welcome to reach out.
Thanks again for the encouragement and support—it truly means a lot!
All the best,
Mark
Lots of good information here on over-the-Air TV. This is certainly a viable option and as you say, “without breaking the bank”. I like the idea of free local channels broadcasting as it really is all about getting back to the basics.
I appreciate all the details you have provided and I will save your article to share with others.
Hello Joseph,
Thank you so much for your thoughtful comment! I’m glad you found the information helpful. Over-the-air TV really is a great way to enjoy local channels and quality entertainment without adding to monthly expenses—it’s definitely about getting back to the basics, as you mentioned. I really appreciate you saving and sharing the article with others, that means a lot. If you or anyone you share it with has questions down the road, feel free to stop back by—I’m always happy to help!
Mark, this was such an insightful read. Honestly, this is the first time I am hearing about over the air DVRs and I can already see how useful they can be. The way you explained the features makes it clear how much money people could save by switching, especially compared to the high costs that channels and streaming services are charging these days. It feels like one of those smart tech options that’s practical and cost-effective at the same time. I am curious to check if something like this is available in my country yet because if it is, I can imagine it would easily beat the expenses of current subscriptions. Thank you for breaking it down so clearly and making it easy for someone like me, who had no prior idea about this, to actually consider giving it a try. Really appreciate the clarity in your writing.
Hi Hari,
Thank you so much for your thoughtful comment! I’m glad to hear this post helped introduce you to the idea of over-the-air DVRs and how they can really cut down on costs compared to traditional subscriptions. You’re absolutely right—it’s one of those practical solutions that makes sense once you see how it works. Availability can vary from country to country, but even if the exact devices I mentioned aren’t sold locally, sometimes there are region-specific alternatives that work with local broadcast standards. It’s definitely worth checking into—you might find that you can enjoy a wide range of free local channels with DVR convenience for just a one-time investment. If you do end up finding an option where you live, I’d love to hear about it!
Thanks again,
Mark
Mark,
I’ve been using a Tablo with dual tuners for a couple of years now and love it. The only thing I don’t love is changing internet providers and losing all my saved shows. Have you cracked that nut yet?
Ken,
Thanks for sharing your experience! I’m a Tablo fan myself and have been using a 4-tuner Tablo for quite a while. Unfortunately, I haven’t changed internet providers, so I have not experienced that. As far as I know, recordings are tied to the specific Tablo setup and account configuration, so changing internet providers or rebuilding the network may sometimes force a fresh setup that results in losing access to saved recordings.
Before switching providers, I would recommend making sure your Tablo is fully updated and documenting your current setup just in case. If any readers have found a reliable workaround, I’d love to hear about it too!
If you’re using an older network-connected Tablo and simply changing internet providers, that shouldn’t automatically lose recordings as long as they keep the same Tablo device and hard drive. The recordings are stored on the attached drive.
However, if the change creates a factory-reset of the Tablo, replace the device, lose access to the original account, or have to reformat the drive during setup, recordings can be lost.
The newer Tablo models (4th Gen) handle storage differently, but recordings are still not designed to be easily backed up and restored to a different device.
When you changed providers, did you keep the same router settings and Tablo device, or did you have to perform a factory reset? That may help narrow down what happened. Let me know. I am going to be moving soon and will have to change providers
Thanks again,
Mark